The more you hike with your kids, the more you learn about what motivates them on the trail. We know our kids don’t hike well when they are hungry. And even if they are not, stopping for water and a snack is a quick distraction to get them going again. One of our go-to trails snacks is granola bars (what’s more iconic than eating those crunchy Nature Valley granola bars in the woods??). Still, I wanted to change it up for something different – healthy snack bars that we could make at home. That’s when I pulled out this recipe for Backpacker Bars.
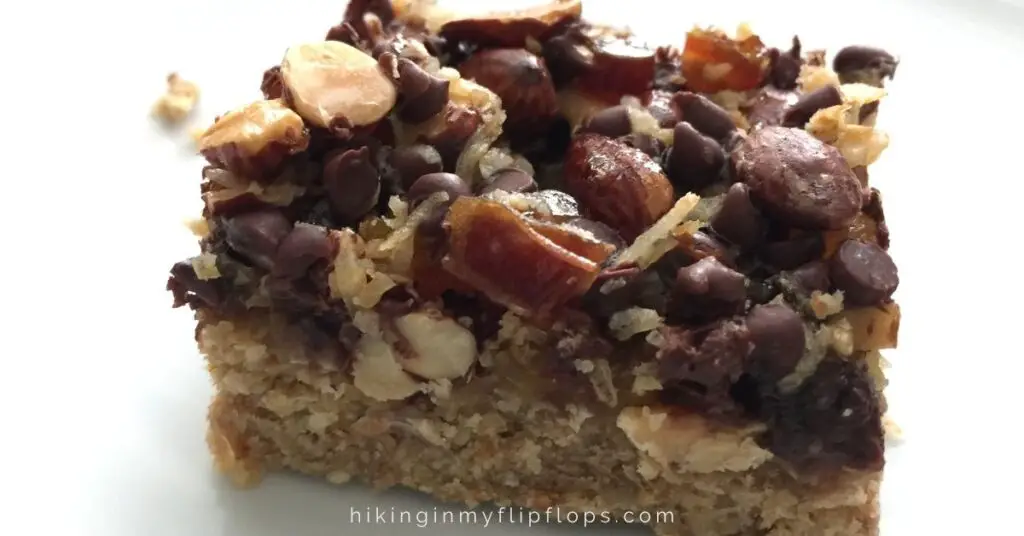
A Throwback Recipe
I’m not really sure where the recipe came from, but I remember my mom making them when I was a kid. The trail mix-like topping isn’t as messy as trail mix (seriously, trail mix seems to spill everywhere). The crust is packed with good-for-you whole wheat flour and wheat germ.
(This post may contain affiliate links. Please read our disclosure policy for more information.)
Make Them with the Kids
Yes, there are a lot of ingredients in this recipe, and I’m more of a 5 ingredients or fewer kind of girl. So when we whip up a batch of Backpacker Bars for the trail, the kids jump right in to help.
Related Reading: The Best Snacks to Bring on a Day Hike
One calls out the ingredients while another collects them all. The oldest does the chopping, and we all do the measuring and mixing – and maybe even a little lesson in fractions thrown in there too (there were a few close calls with 1/2 vs. 1 1/2, but we got through it!)
These bars will come together before you know it.
Just Mix, Bake, and pack them up!
The crust is like a cookie meets pie, with orange zest mixed in. Just a little bit of orange zest brightens the flavor of the dense crust so much.
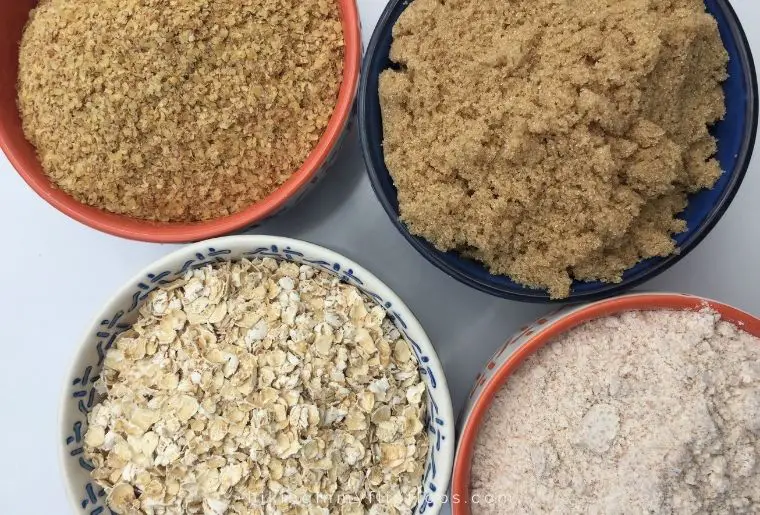
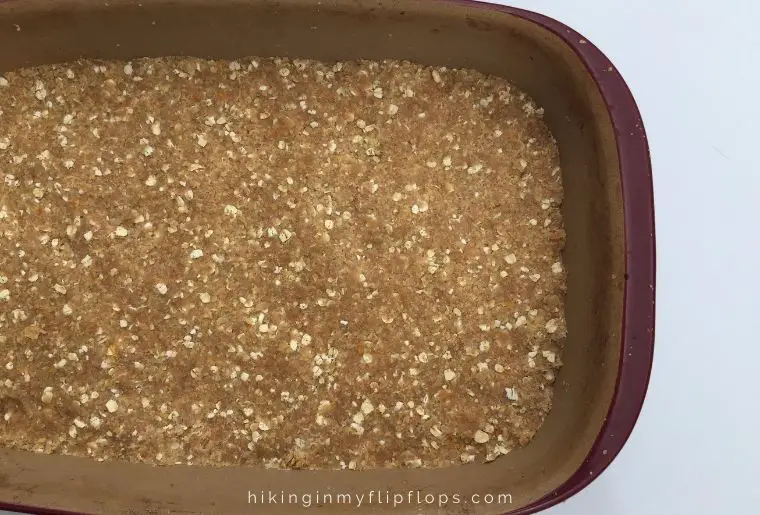
After mixing the crust, pour the mixture into a 9×13 pan (I’m in love with my stoneware baking dish from Pampered Chef). Make sure to press firmly on the crust to pack it down well, so it doesn’t get too crumbly after baking.
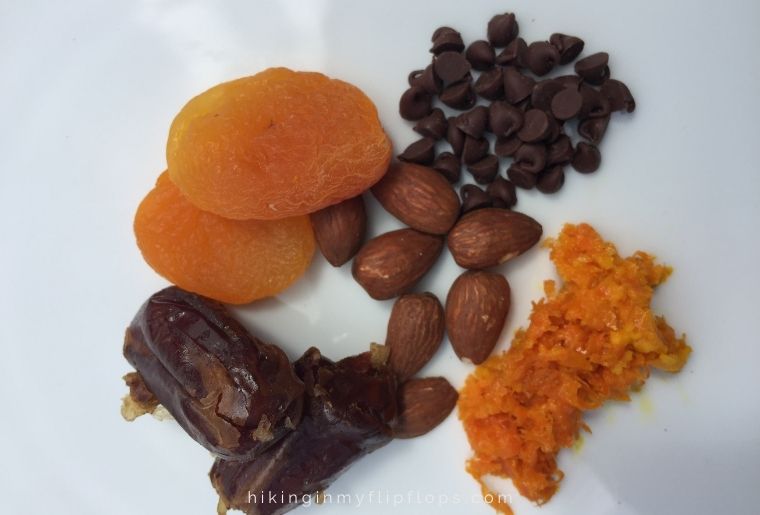
The dried fruits and nuts in the topping are like a trail mix baked right in. The perfect snack for camping and hiking.
After baking, the chocolate will be really gooey, so don’t skip the cooling. Once cooled, cut into small bars. These are thick and rich, so I cut them pretty small. One-inch squares are the perfect size to grab 1 or 2 for a snack. Make them extra-portable by individually wrapping the cut squares and drop into lunch boxes, picnic baskets, or backpacks.
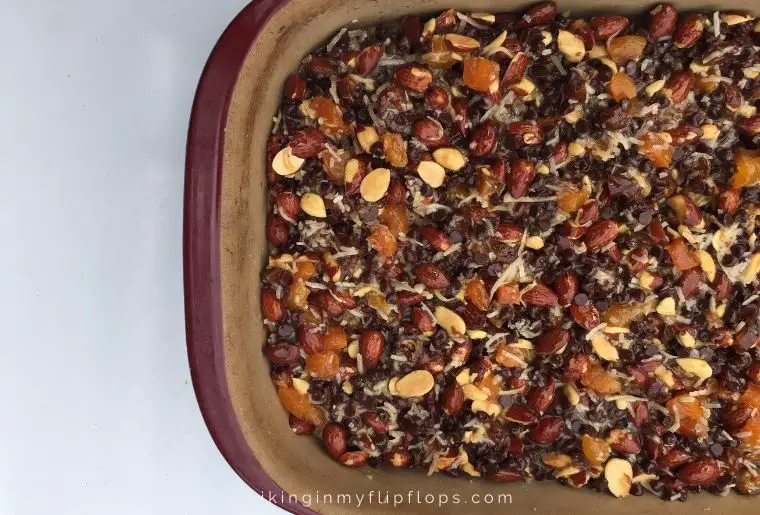
These healthy snack bars are great for breakfast – and even dessert!
The Recipe for Backpacker Bars
Backpacker Bars
Ingredients
1 cup butter
1 1/2 cups brown sugar (divided into 1 C and 1/2 C)
1 cup quick-cooking oats
1 cup whole wheat flour
1 cup all-purpose flour
1/2 cup wheat germ
4 tsp orange zest
4 eggs, beaten
2 cups whole almonds
1 cup chocolate chips
1/2 cup dates, chopped
1/2 cup dried apricots, chopped
1/2 cup flaked coconut
Directions
- Preheat oven to 350° F
- Mix the butter and 1 cup of brown sugar in a large bowl, until well blended
- Add the flours, oats, wheat germ, and orange zest, and stir until well mixed.
- Spread mixture into 9×13 pan and press with your hands or flat-bottomed glass until well packed down. If not well packed down, the bars will be a bit crumbly.
- Mix the remaining ingredients together in a medium bowl and spread evenly over the crust.
- Bake bars for 30-35 minutes, until browned
- Let cool, then cut into bars.
Have you tried this recipe for Backpacker Bars? Let us know what you think in the comments!
Click below to save these ideas for easy and healthy snack bars on Pinterest!

I forgot to buy whole wheat flour, can I use AP instead?
I don’t see why it wouldn’t work, but I haven’t tried it to know for sure. Hope you enjoy!
These look really good. Have you ever tried honey instead of brown sugar?
I haven’t tried honey, but it’s a great idea and I’ll definitely give it a try! We like to avoid processed sugars as much as possible.
Yum! These look delicious! I am so making these this week!
They are definitely one of our favorite snacks! Enjoy!
Love it. I also try to my angel
I hope you enjoy them!
These look amazing! Definitely trying!
Yay! I hope you enjoy!
They look yummy! I’m going to try this recipe out. Thank you for sharing.
I hope you love them as much as we do!
Now if only I could get someone to make them for me right this minute!!
Haha! That’s usually the way I feel! I need to teach my kids to make them 🙂
Oh man, I wish I could eat these! They look so delicious!
They were delicious – we devoured the whole pan of them 🙂
These look so good and such an easy snack!
As long as you prep the ingredients, they really are easy! I can’t believe how long it took me to realize that 🙂
These look amazing! I love new grab and go recipes!
I hope you love this one! We definitely do!
These look super tasty! Have you ever tried this with other kinds of dried fruit? My kids aren’t huge fans of dried apricots and coconut. Maybe I should just use more chocolate chips!
You can definitely swap out the fruits based on preference. We love apricots, so I almost always use them. My husband doesn’t like coconut either, but it took him a long time to realize it’s in there 🙂 I haven’t omitted it before, but it’s worth a shot!
These look so good
Thank you!
Those look delicious – perfect snack to pack for a day hiking for sure.
They really are great for camping and hiking! And easier to eat than trail mix (that my kids tend to leave all over the ground around them) 🙂
These sound so good, and I love the idea of wrapping them up individually so they are ready to go wherever you need them! I am thinking post-sports snack when you don’t want them eating junk late in the evening!
They really are! I love anything that is portable, since we are always on the go!
These look great! I don’t really like to cook either. I think it’s because I have no patience! I will have to try these, though. I think I can handle these!
I totally agree on having the patience! Once I realized prepping ahead makes it SO much easier, I do it a little more often.
Looks like a good, healthy option for the whole family!
Yes 🙂 there are lots of healthy ingredients hiding in there!
This sounds like a great treat! Thank you for making a printable recipe, I’m so going to try it out!
You are welcome! I hope you love them as much as we do!
These look delicious! I have a picky toddler, but maybe I might just have to try them for myself.
You definitely should! I hope you enjoy them!
I was telling my kids we have to change our eating habits. Looks like we have a candidate to start with.
This would be a good one! I do call them healthy because there is lots of good stuff in them, but there is a bit of butter too, and that will make for a good transition. Enjoy!
Wow, those look delicious! I think I might even be motivated to backpack for one. ;-D I have to share this with my son (22). He will Love them.
haha! I just may have used these for some motivation myself 😉
These look yummy! I definitely have to try making these!
I hope you enjoy them as much as we do!
Looks delish! I wish my kids were not such picky eaters:(
I have a picky eater too. Fortunately, these bars are on his list of things he will eat!
These look amazing! These would be a good protein snack for my daughter before and after she plays a soccer game! Yum!
yes! it would be perfect for that!
These look AMAZING. I wonder how substitute friendly the recipe is? We have some food restrictions in our house…
I haven’t tried to do substitutions with the crust, but I’m sure it would work well – as long as the amount of dry ingredients is the same. On the topping, I’ve switched up the types of nuts and dried fruit and it still works out great!
My husband would love these bars! Thanks for posting!
i’m so happy to hear that! our entire family loves them too!
back to the store I go 😉
haha! it will be worth it – i promise!
I want to go make these right now! Thank you for this recipe.
you’re welcome! i hope you enjoy them!
This looks soooo good. I am going to have to try making some of these.
i hope you love them as much as we do!
I’ve been looking for some alternative snack ideas for my daughter. Next time I go shopping, I think I’ll get the ingredients. Hopefully, I won’t eat them all before my daughter gets any!
fortunately, they make a lot – which is the only reason that doesn’t happen to me! 🙂 enjoy!
These look so good! I’m adding these to my list of grab and go foods to eat between school and sports!
they are perfect for that! hope you enjoy them!
These look SO much better (and better for you!) than the grocery store kind.
They definitely are! I hope you get a chance to try them!